This comprehensive guide will walk you through everything you need to know, from the fundamental concepts to the critical components and common challenges, helping you embark on your own CNC building journey.
What Exactly is a DIY CNC Milling Machine?
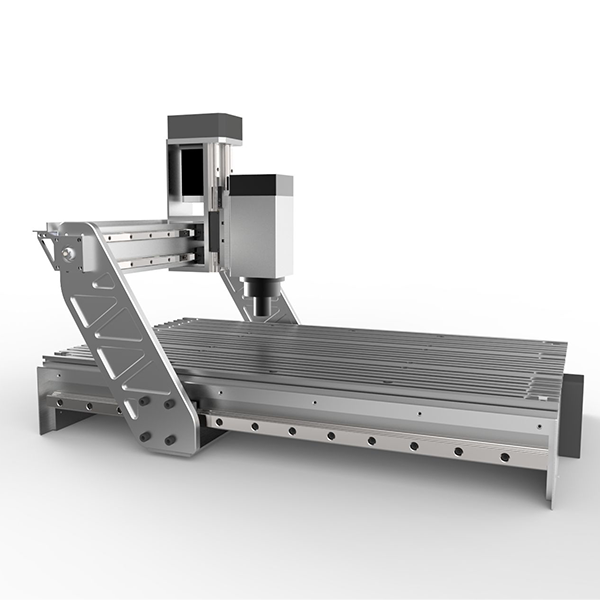
At its core, a CNC milling machine is a subtractive manufacturing tool. Unlike a 3D printer which adds material layer by layer (additive), a CNC mill starts with a solid block of material (like wood, plastic, or aluminum) and precisely carves material away using a spinning cutting tool (a spindle) to achieve the final shape. A DIY CNC milling machine is a version of this technology that you assemble and calibrate yourself, using a combination of sourced components or a pre-packaged kit.
It’s a gateway to creating custom parts, intricate carvings, functional prototypes, and much more, all controlled by computer code.
The Allure of DIY: Why Build Your Own CNC?
Building a machine from the ground up is a significant undertaking. Understanding the trade-offs is crucial before you begin.
The Rewards
- Unparalleled Learning: You will gain an intimate knowledge of mechanical engineering, electronics, and software integration. This hands-on experience is invaluable.
- Customization: A DIY build allows you to tailor the machine’s size, power, and capabilities directly to your specific needs and workspace.
- Cost-Effectiveness: For hobbyists and small-scale projects, a DIY machine can be significantly more affordable than a commercial-grade unit, opening up possibilities that would otherwise be out of reach.
The Reality Check
- Time Commitment: Be prepared to invest considerable time in research, sourcing parts, assembly, and troubleshooting. This is not a weekend project.
- Technical Skill Required: A successful build requires a solid understanding of basic mechanical and electrical principles. Patience for problem-solving is non-negotiable.
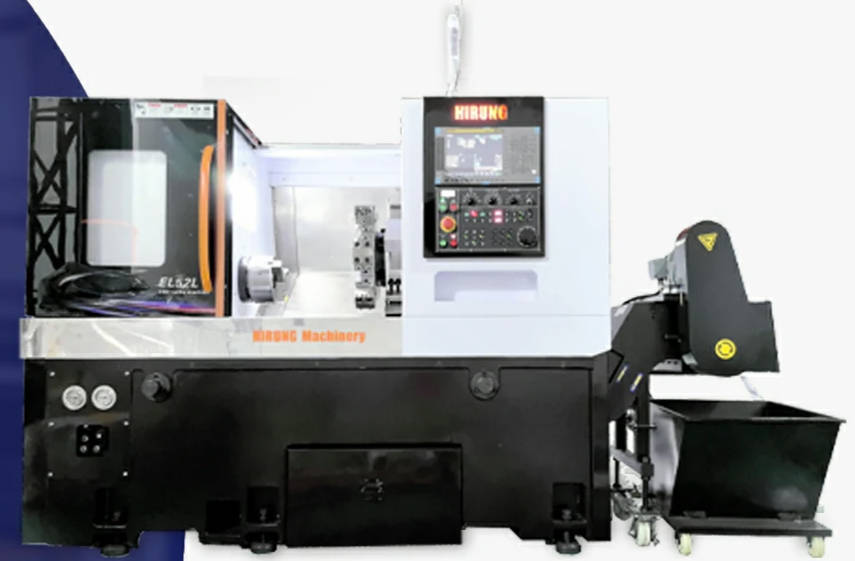
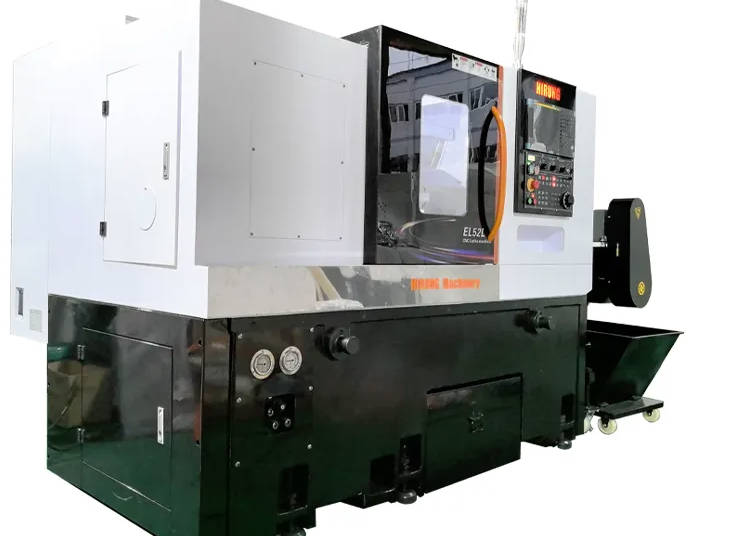
- Performance Limitations: While fantastic for learning and many applications, achieving the rigidity, speed, and micron-level precision of a professional machine like those we manufacture at Hirung is a major challenge for most DIY designs.
Anatomy of a DIY CNC Mill: The Essential Components
The performance of your machine is a direct result of the quality and synergy of its parts. Understanding each component’s role is key to making smart choices.
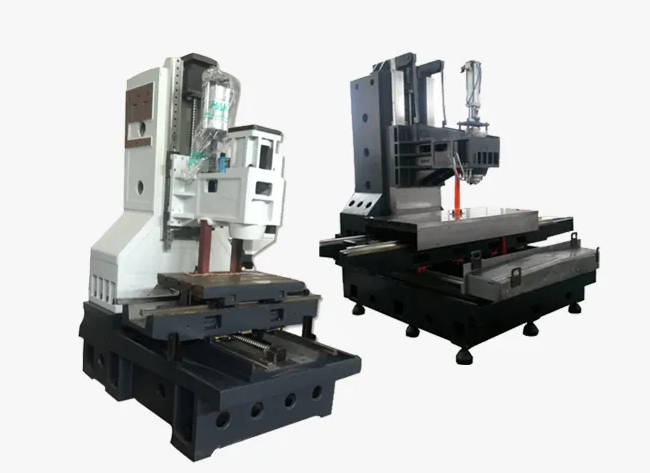
- The Frame: The bedrock of precision. The frame provides the structural integrity for the entire machine. Its rigidity dictates how well the machine can resist cutting forces without flexing, which directly impacts accuracy. Common materials include MDF (budget-friendly but susceptible to moisture), aluminum extrusions (a popular, modular, and rigid choice), and steel (the most rigid but heavier and harder to work with).
- Linear Motion System: The pathways to accuracy. This system allows the machine’s axes (X, Y, and Z) to move smoothly and precisely. It typically consists of linear rails and bearings. The drive mechanism, such as lead screws (common in DIY builds) or ball screws (offering higher precision and less friction, standard in industrial machines), translates rotational motion from the motors into linear movement.
- Drive System: The muscle behind the movement. This is what moves the axes. Stepper motors are the most common choice for DIY CNCs due to their simplicity and low cost. Servo motors, while more complex and expensive, offer closed-loop feedback for greater accuracy and speed, preventing lost steps under load.
- The Spindle: The cutting tool’s heart. The spindle is a high-speed motor that holds and spins the cutting tool (end mill). DIY options range from a standard woodworking router to a dedicated, purpose-built spindle. Dedicated spindles are generally quieter, more precise, and offer better speed control.
- The Controller & Electronics: The brain of the operation. This is the hardware that interprets the computer’s commands (G-code) and sends electrical signals to the stepper motors. Popular DIY controllers are often based on an Arduino running GRBL firmware, paired with stepper motor drivers.
Choosing Your Path: CNC Kit vs. Building From Scratch
There are two main routes you can take. Your choice depends on how much of the design and sourcing work you want to do yourself.
| Aspect | CNC Kit | Building From Scratch |
|---|---|---|
| Convenience | High. All components are selected to work together. Instructions are usually provided. | Low. You are responsible for designing, sourcing, and ensuring compatibility of all parts. |
| Learning Curve | Moderate. Focus is on assembly and software. | Steep. Requires a deep dive into mechanical design and component selection. |
| Customization | Limited to the kit’s design, though upgrades are often possible. | Total freedom. The machine is built exactly to your specifications. |
| Cost | Potentially higher upfront cost but with fewer surprise expenses. | Can be cheaper if you source parts wisely, but costs can easily escalate. |
From Idea to Object: Understanding the CNC Software Workflow
The physical machine is only half the equation. The software workflow is what brings your ideas to life. It’s a three-step process:
- CAD (Computer-Aided Design): This is where your idea takes shape. You use software like Autodesk Fusion 360, Vectric Aspire, or Easel to create a 2D or 3D digital model of the part you want to make.
- CAM (Computer-Aided Manufacturing): The CAM software takes your digital model and generates the toolpaths—the exact route the cutting tool will take. It converts these paths into a language the machine understands, called G-code. This is where you set parameters like cutting speed, depth, and tool choice.
- Control Software: This software acts as the interface between your computer and the CNC controller. You load the G-code file into the control software (like Universal Gcode Sender), zero your machine on the workpiece, and hit “start” to send the instructions to the machine.
Navigating the Challenges: Common Pitfalls in DIY CNC Builds
As professionals, we know where things can go wrong. Foreseeing these challenges can save you countless hours of frustration.
- Lack of Rigidity: This is the number one enemy of accuracy. A frame that flexes under load will result in inaccurate cuts, poor surface finish, and broken tools. Overbuild your frame whenever possible.
- Backlash: This is a small amount of “slop” or play in the drive system, especially with lower-cost lead screws. It causes the machine to lose its precise position when changing direction, leading to misshapen circles and inaccurate dimensions.
- Electrical Noise: The high-frequency signals from a spindle motor can interfere with the low-voltage signals going to the stepper motors, causing random, unpredictable movements. Proper shielded cabling and grounding are essential.
- Calibration Woes: “Squaring” the machine (ensuring all axes are perfectly perpendicular) and calibrating the steps/mm for each motor are critical, time-consuming processes that are absolutely necessary for accuracy.
Your Journey into CNC Machining
Building a DIY CNC milling machine is a rewarding and deeply educational endeavor. It’s a journey that will test your skills but ultimately leave you with a powerful tool and an profound appreciation for the intricacies of precision manufacturing. You will learn to balance the trade-offs between cost, performance, and complexity, making decisions that engineers and manufacturers face every day.
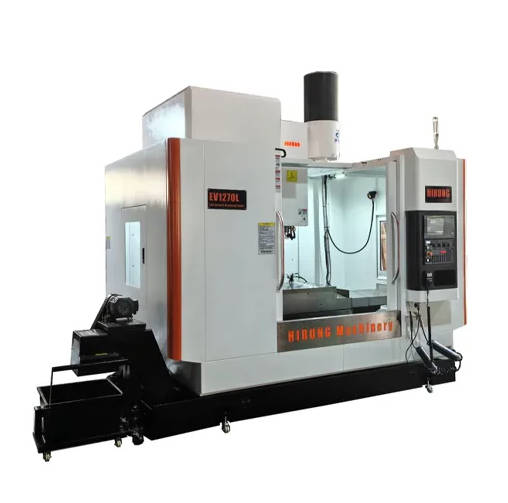
As your projects grow in complexity and your demand for higher precision, faster cycle times, and industrial reliability increases, you may find yourself looking towards the next level of performance. When that time comes, exploring professional-grade solutions is the natural next step. At Hirung, we specialize in providing that next level of power and precision, building on the fundamental knowledge you’ve worked so hard to acquire. Your DIY journey is the perfect foundation for a future in advanced manufacturing.